Recently, however, I have been learning about various D.I.Y. projects that have made it much more affordable to decorate my home.
I purchased a few items from a great local thrift store and decided to paint them.
My first project was a tv console that I purchased for only $16 from my favorite thrift store. It was extremely heavy, but it was so worth it!
Once I found the items I wanted to paint, I set out to look for which paint to use.
After much research, I ended up trying out Annie Sloan chalk paint. (Here is a tutorial that shows her technique.)
I am now a huge fan of chalk paint! It not only allows you to create a distressed look, it is also much quicker and easier to use than most other types of paint.
Chalk paint is also nearly odorless (Although the clear wax has a strong odor that I find difficult to withstand.) and Annie Sloan claims that it is organic.
Chalk paint is also nearly odorless (Although the clear wax has a strong odor that I find difficult to withstand.) and Annie Sloan claims that it is organic.
This is what the console looked like when I brought it home from the thrift store.

This is the console after using chalk paint.

The first thing that I did was remove all the doors and handles and set them aside.

Next, I sanded everything down with a 220 grit sanding block. With chalk paint, it isn't necessary to sand down or even prime before applying paint, but I ended up sanding anyway because this piece of furniture was particularly scratched up.

I then spray painted with Rust-Oleum metallic spray paint to create a distressed look. I only spray painted the edges, as these were the areas where I wanted the metallic paint to show.

Once this dried, I applied a coat of Paris Grey chalk paint to most of the furniture using a Purdy 2.5 inch brush. I left some of the spray-painted parts unpainted to make sure it'll show. I also sanded down the edges where I wanted to create the distressed look.


At this point, I could have been finished with the chalk paint. However, since I only wanted to create a subtle distressed look, I painted a second coat, again avoiding some of the spray-painted parts to show. I sanded down the edges again to have the metallic color pop out.
After everything was dry, I applied a coat of Annie Sloan clear wax, making sure I wiped off any excess wax as I went along.

I repeated this entire process for the doors after covering the parts that I didn't want paint to get on.

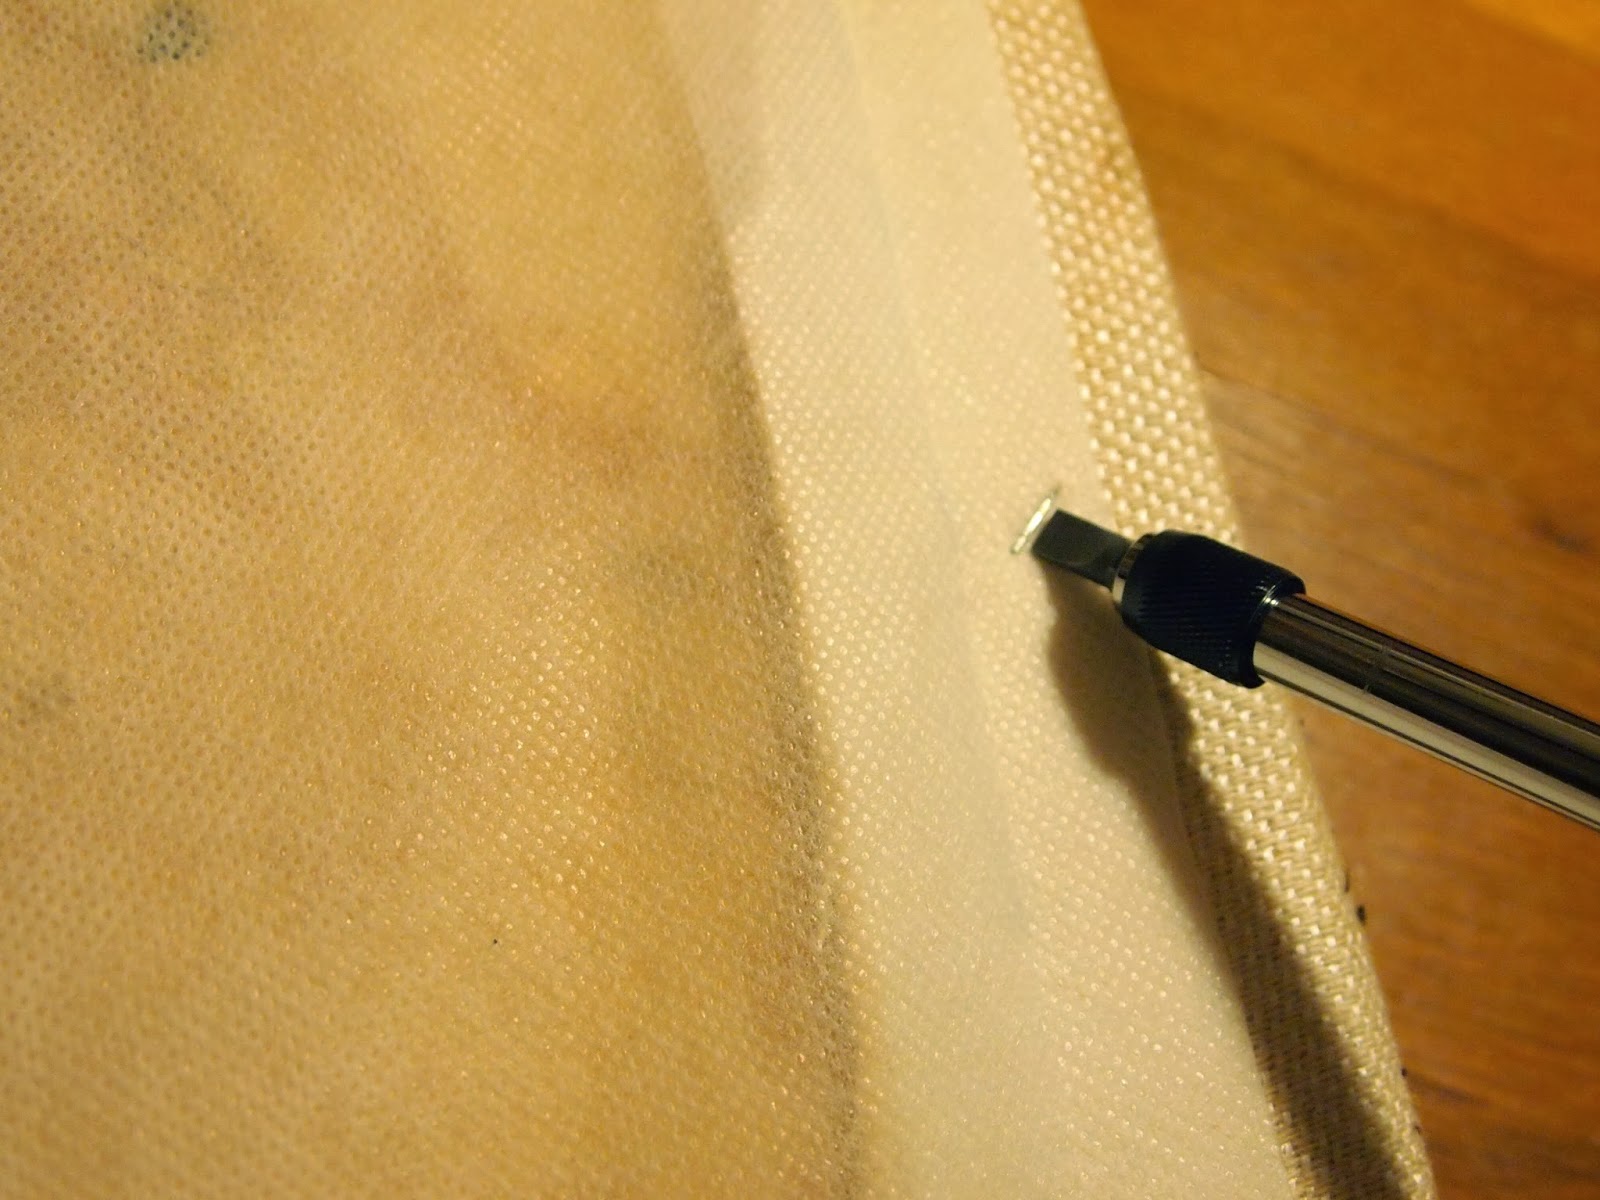
I also changed the fabric on the doors using a staple gun, to give it a fresher look.
Here is what the door looked like before the changes:

Here is the door after the changes:

Now it was time to put the doors and handles back on the console and put it to use!